How to Sew Expert Mitered Corners Perfectly

How to Sew Expert Mitered Corners Perfectly

How to Sew Expert Mitered Corners Perfectly

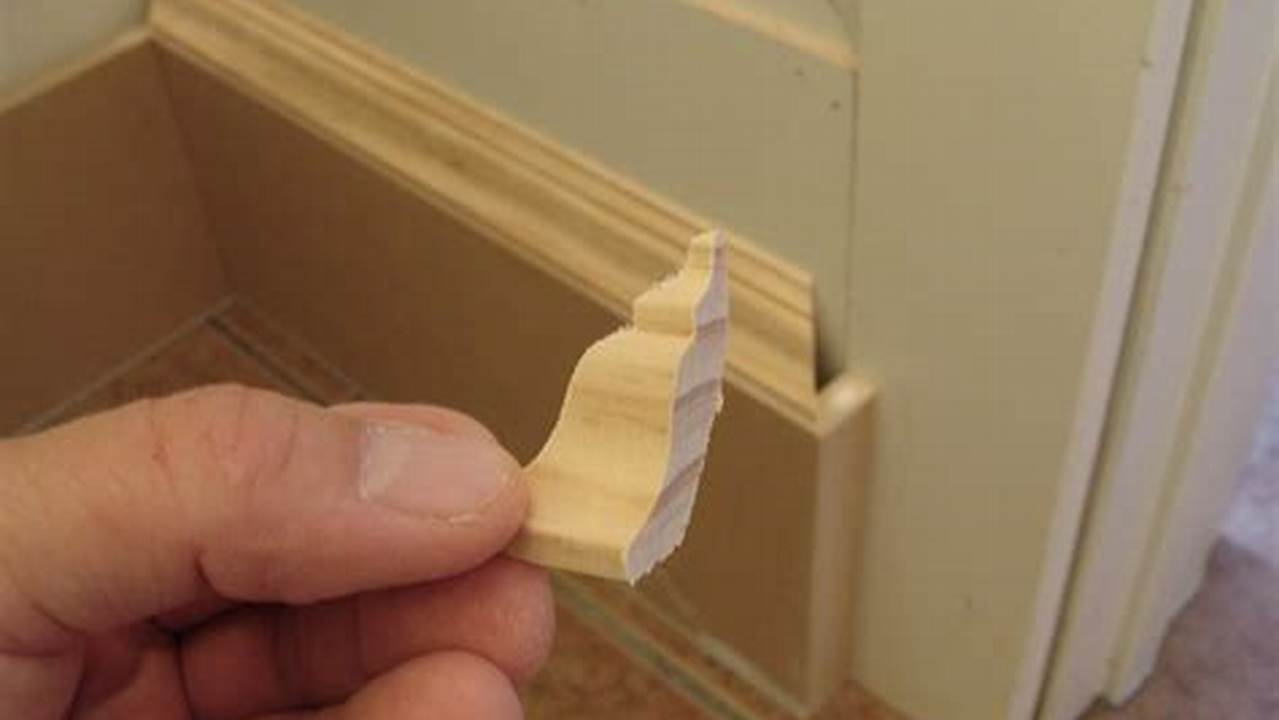
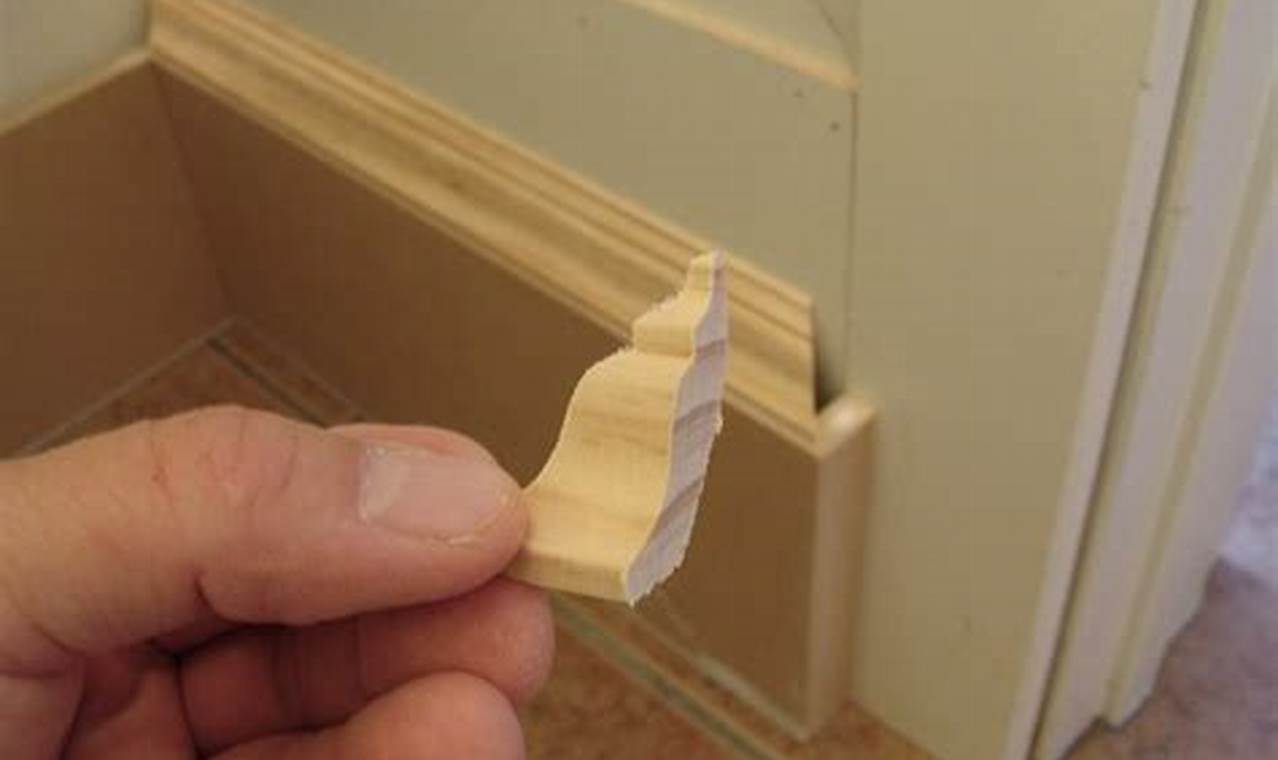
Mitered corners are a beautiful and professional-looking way to finish the edges of fabric. They are often used on quilts, tablecloths, and other home dcor items. Mitering corners can seem daunting, but with a little practice, they are easy to master.

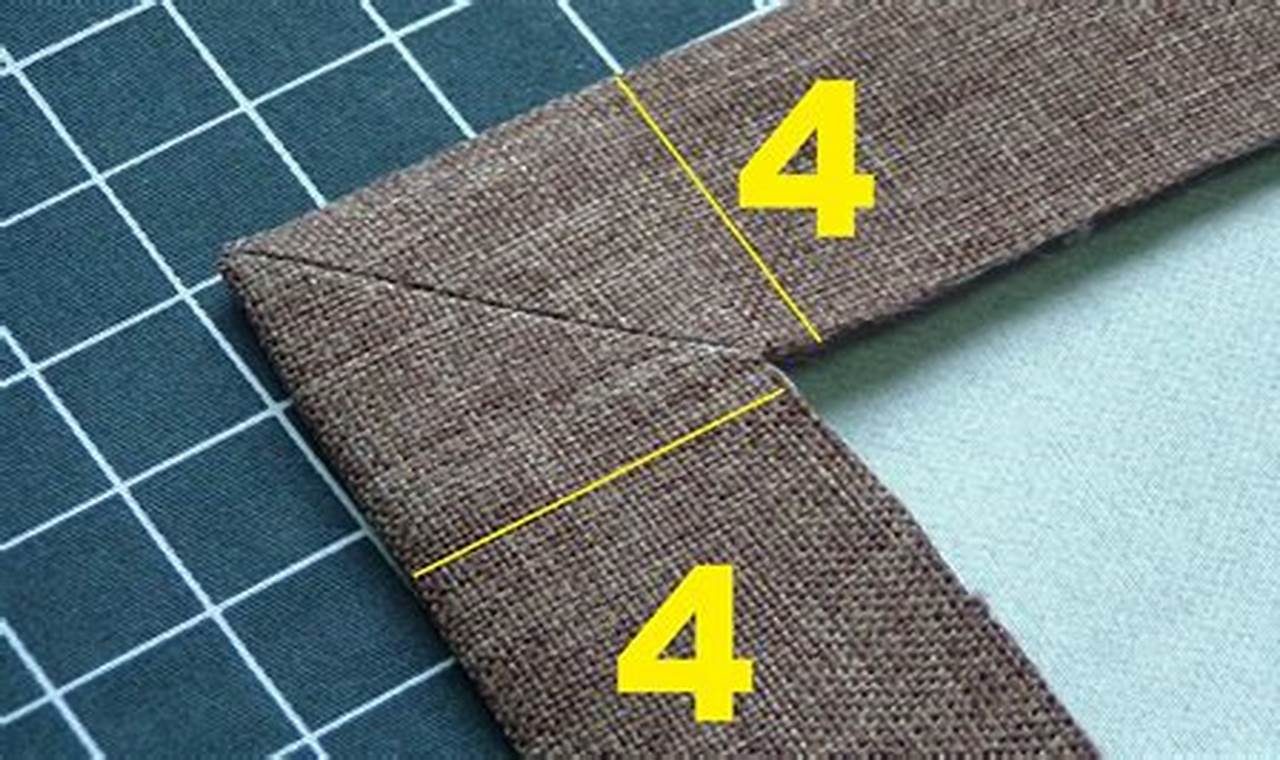
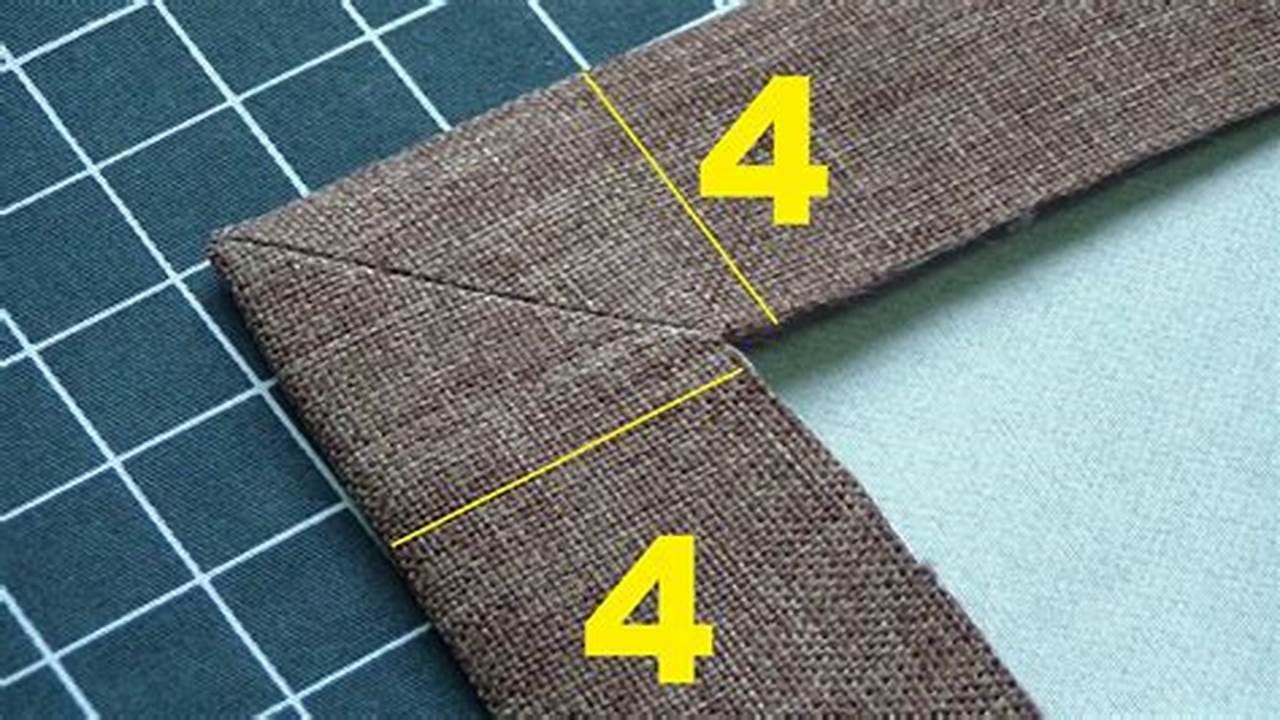
To sew mitered corners, you will need to start by cutting your fabric into strips. The strips should be twice as wide as the finished corner. Once you have cut your strips, fold them in half lengthwise and press the crease. This will help you to keep your corners even.

Read more

Essential Guide: Mastering the Art of Cutting Baseboard Molding Corners

Essential Guide: Mastering the Art of Cutting Baseboard Molding Corners

Essential Guide: Mastering the Art of Cutting Baseboard Molding Corners

Cutting baseboard molding corners is an essential step in installing baseboards. It ensures a clean and professional-looking finish and helps prevent gaps or unevenness in the molding. There are two main types of baseboard molding corners: inside corners and outside corners. Inside corners are formed when two pieces of molding meet at an inside corner of a wall, while outside corners are formed when two pieces of molding meet at an outside corner of a wall.

Cutting baseboard molding corners requires precision and accuracy. The most common method for cutting inside corners is to use a miter saw. To cut an inside corner, first measure the length of the molding that will be installed on the inside wall. Then, set the miter saw to a 45-degree angle and cut the molding. Repeat this process for the molding that will be installed on the outside wall. To cut an outside corner, follow the same steps but set the miter saw to a 90-degree angle.

Read more